Reducing Your 3D Printing Costs
A short guide to help you cut costs
with your 3D printing setup
The big promise of additive manufacturing is cost reduction in manufacturing. It promises shorter product lead times, less waste and simpler supply chains.
However, to get the full benefits, you need to understand the intricacies of 3D printing. Know them will not only reduce your costs but also improve lead times.
To aid you with this, this article will cover the main areas to pay attention to. The best practices and the little points to consider when printing parts.

Main 3D Printing Costs Considerations
- Material Cost: Material choice and part requirements.
- Infill Settings: How hollow can your part be.
- Layer Settings: Layer thickness costs and lead times.
- Part Dimensions: Why your part size can be smaller
- Support Structures: Complex parts do cost time and money.
- Post Processing: Improving aesthetics at a budget
Advanced Tips
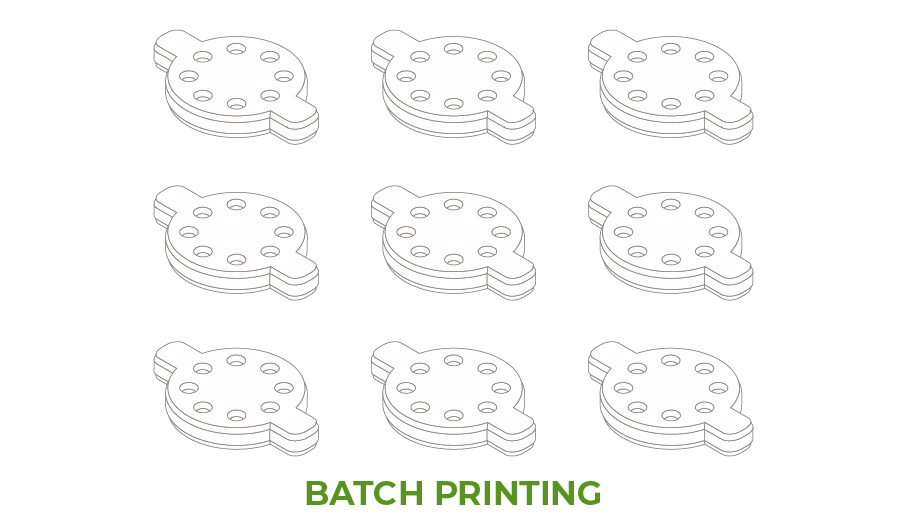
- Batch Printing: Maximise your build volume
- Topology Optimization: Better strength parts, less material.
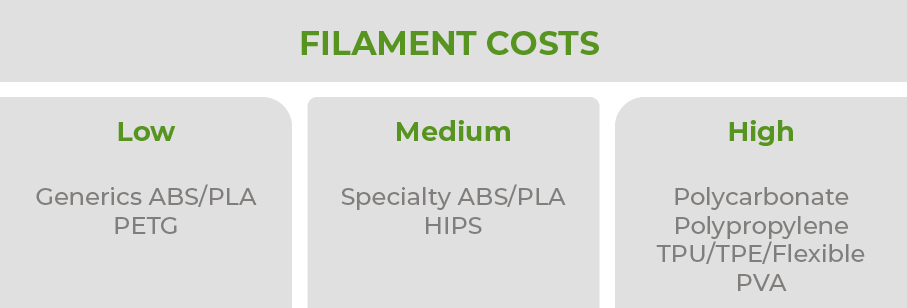
Material Costs
The highest recurring cost for 3D printing is the cost of filament. This cost is dependent on some key factors. The quality and production process varies with each manufacturer. This means that one brand of ABS can be different from the next. This is both in print quality but also costs.
Depending on your printer, it is best to test and try the different options that are available online. For Bolt Pro users, we test all our filaments to ensure this is not required.
Another important point of consideration in reducing material costs is the application. This is in regards to the use case for the desired printed model. Is it for a visual prototype? Or is the part a functional prototype? Asking yourself these questions is crucial before printing starts. Using the strongest material is not always the best choice.
This is because engineering materials are at a premium compared to standard filaments. Always choose a material that accomplishes your goals. If you would like to learn which material to use, check out our free guide here.
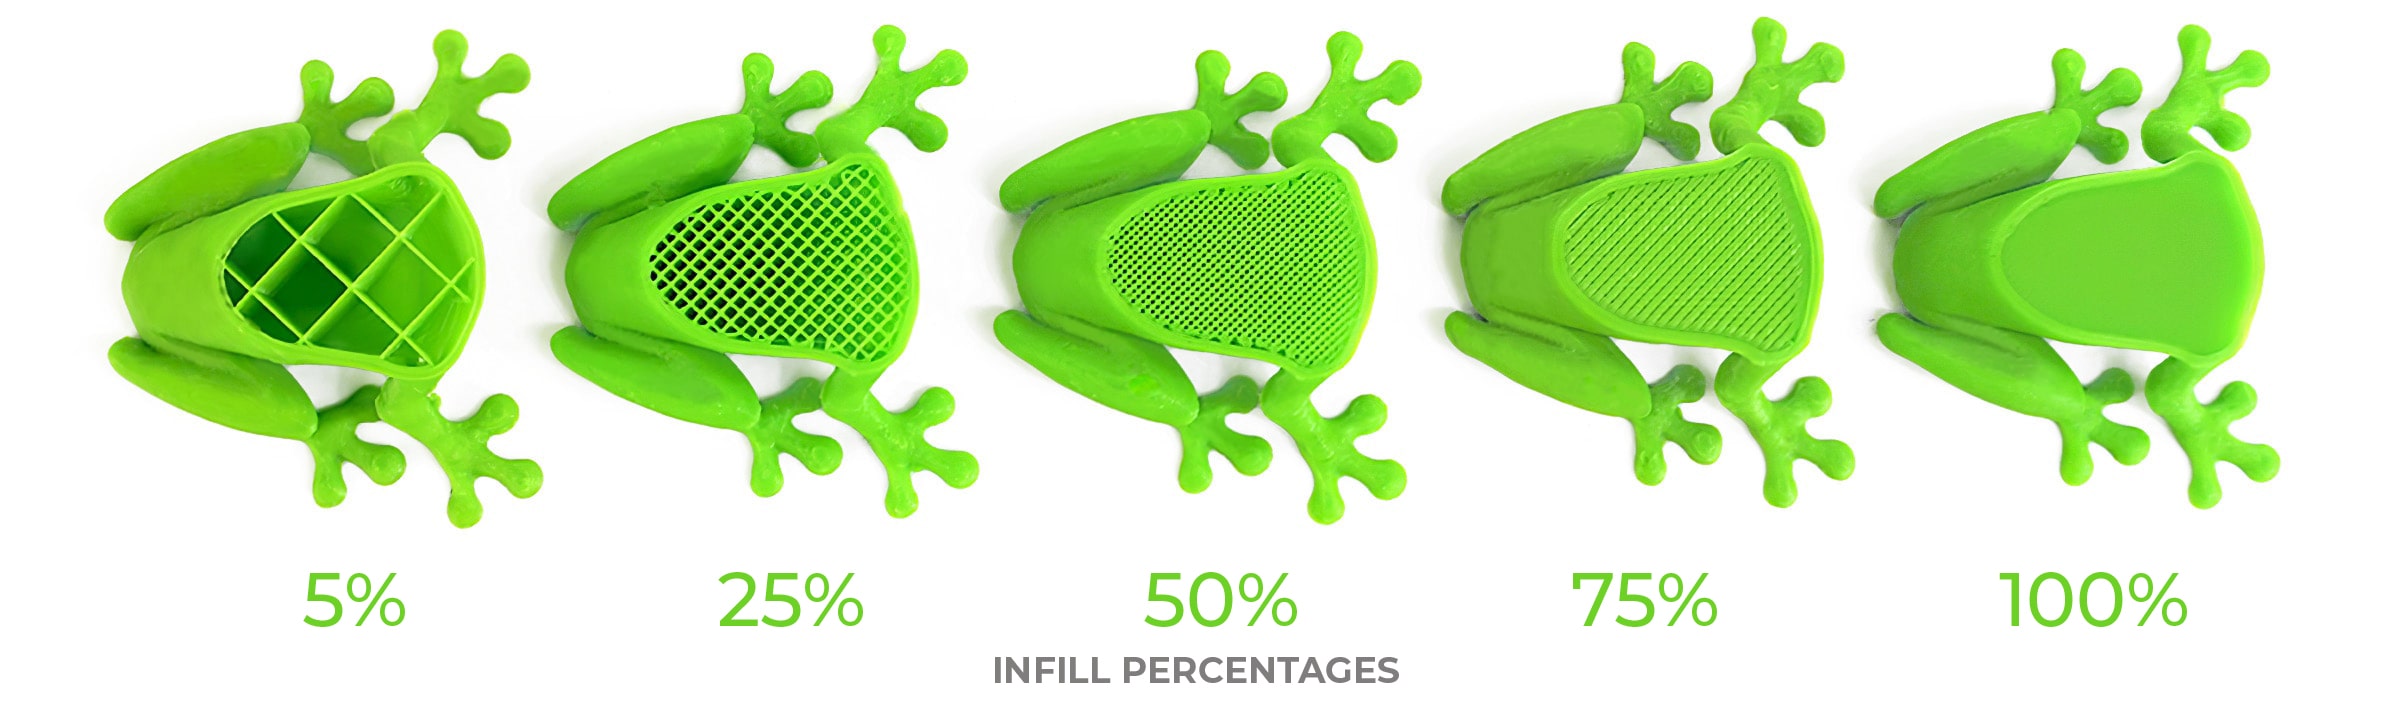
Infill Settings
Infill percentage determines how hollow a model is. Within your slicer software, you have the option to set this. The ranges are from 5% to 100%.
The amount you choose is dependent again on the use case. Visual models do not need to be completely solid. Setting high infill for this is costly. Furthermore, more infill also increases print time which adds to complete costs. This is especially true if you factor in electricity costs.
A few elements to consider is parts will have less structural strength. This is more pronounced in smaller percentages. Thus, if the part is a functional prototype, more infill will be more justified.
Layer Settings
When printing, you have the option to change layer heights. Doing so will affect your final print in various ways. Lower layer heights add detail and better aesthetics to your model. Doing so will increase printing time and increases the amount of material used. The reverse will instead reduce aesthetics, but decrease the lead time.
When making your decision, consider the other settings on this list. Doing so will give you better results but also lower costs. Layer settings can be changed using your chosen slicer software.
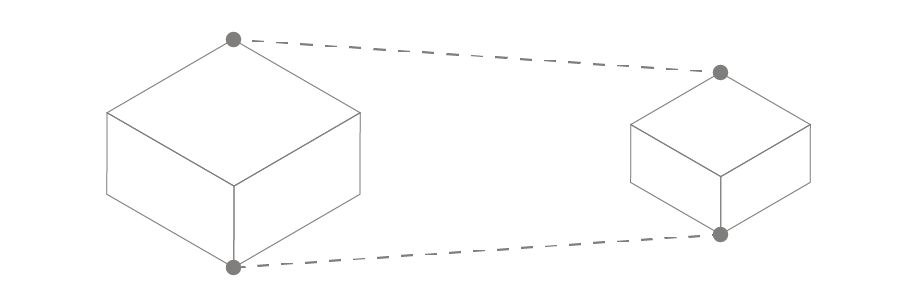
Part Dimensions
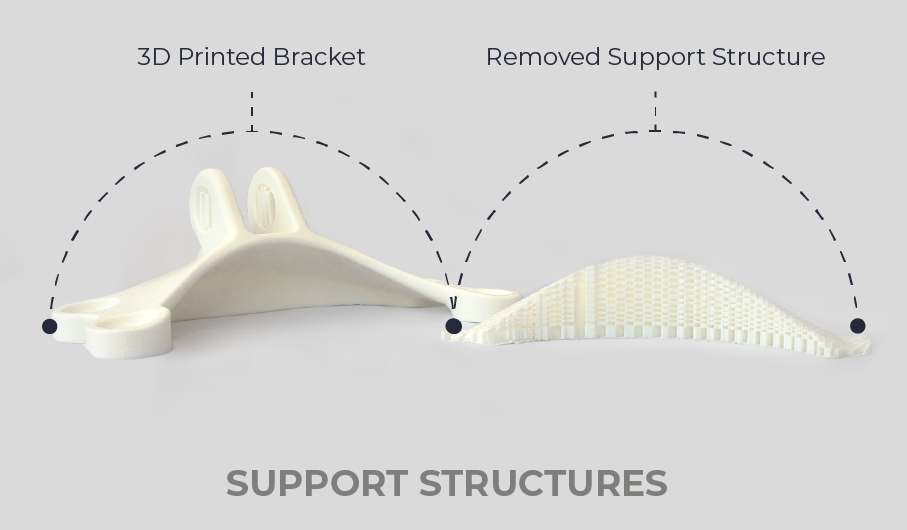
Support Structures
When printing complex parts, support structures are required. Their purpose is to hold up parts that would otherwise collapse. An example of this is printing a bridge model. The underside would need to rest on something.
Settings for support structures are on a case by case basis. It would save more if the model did not need them, but this cannot always be an option. When needed, you can decrease the amount of support printed in your slicer. Which you should always do to save on time and costs.
Advanced Tips
Batch Printing
Topology Optimization

Conclusion
Additive manufacturing has a the potential of changing the foundations of manufacturing. This is due to its inherent nature. But to do so, users need to understand the ways to which they can maximise the use of their machines and setup.
Hopfully the points here have helped and got you thinking on ways to cut costs. Unlike subtractive manufacturing, where material is wasted and removed. Additive manufacturing can save costs while bringining value to your organisation.
NEWSLETTER
Subscribe to our weekly newsletter for useful tips and valuable resources.