3D printing can be equally fun and tricky. Although it’s fairly simple to create a model that looks awesome on screen, making a model that is functional and looks good artistically is a different story. The modeling process of 3D art comes with a few specific requirements, but it is generally similar to 3D modeling in other fields. To get good results for your projects, use the best orientation for printing all the strong parts. Cylindrical components are not well suited to horizontal orientation, instead they are stronger when printed upright. If your machine is not satisfactory try our Bolt Pro. Improving your skills requires practice and there are many tips and tricks to enhance the quality of your 3D art prints.
When thinking about 3D printing, most people think about technical structures and solutions to their problems. However, the opportunities of 3D printing can be exploited by artists as well. Phill has been one of those artists which have been creating model with artistic expressions from the start. Check his website thingiverse for his models. He has also been creating several videos, which might help you get your prints to that next level.

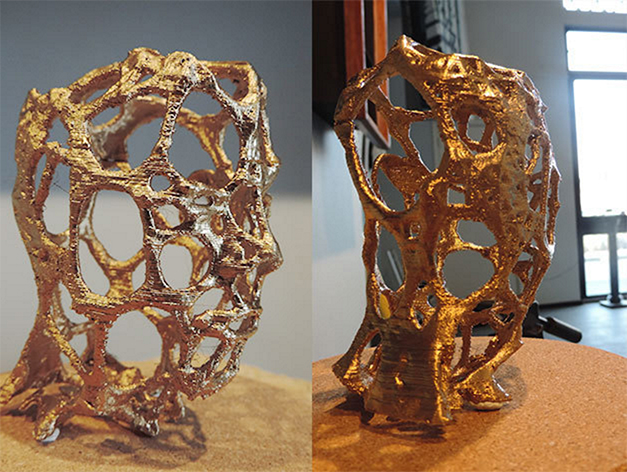
Wall thickness and support structures
Always take into account the minimum wall thickness suitable for your 3D printing technology. Check whether components of the objects require dense wall thickness or latticework interior. During the design phase, be wary of placing thin wall sections adjacent to thick solid sections. It is possible that the walls may cool at varying rates, the faster cooling thinner section may be warped by the slower cooling thicker wall section. When planning on printing a piece with undercut, overhand or downward facing features; you may need a support structure. In the design phase, carefully consider the amount of material required to form the support structure. However, try to keep the material usage to a minimum. The object must be designed in a way that allows you to easily gain access to the support material. The most practical choice is to employ the part design, particularly when working with soluble plastics.

Material usage and cost factors
To minimize material usage and weight in your projects, consider shelling parts out. In addition, keep sufficient space between parts; this is a practical way of maintaining an economical use of 3D print material. Make every effort to keep model surfaces as watertight as possible and also ensure all the parts are balanced. Although every project is different, it’s necessary to consider the cost implications of scale and sizing. It goes without saying, small models cost less and use fewer materials. All the parts should be well designed to fit in the print envelop. Assemble larger prototypes using an assortment of smaller 3D printed parts. Unfortunately, the approach comes with downsides (joints can be weaker) and the build time will be significantly longer.
Printer settings
To achieve the best design results, ensure that your 3D printer’s firmware is up to date or consider a more advanced machine from Leapfrog 3D Printers. Also make an effort to inspect the filament before printing to prevent jamming. It is best to use the same filament brand as your 3D printer because buying a different version may result in poor print quality and frequent jamming. This can be due to incompatible test procedures. Printing at high resolution can be desirable for some projects, but keep it to a minimum. The standard resolution offers the best of speed and surface quality. To produce multi-colored objects, simply make two interlocking objects or pause the printing process halfway and switch filaments.
For more detailed instructions on how to adjust the printer settings, watch this YouTube video.
